The following post contains affiliate links. Read my full disclosure here.
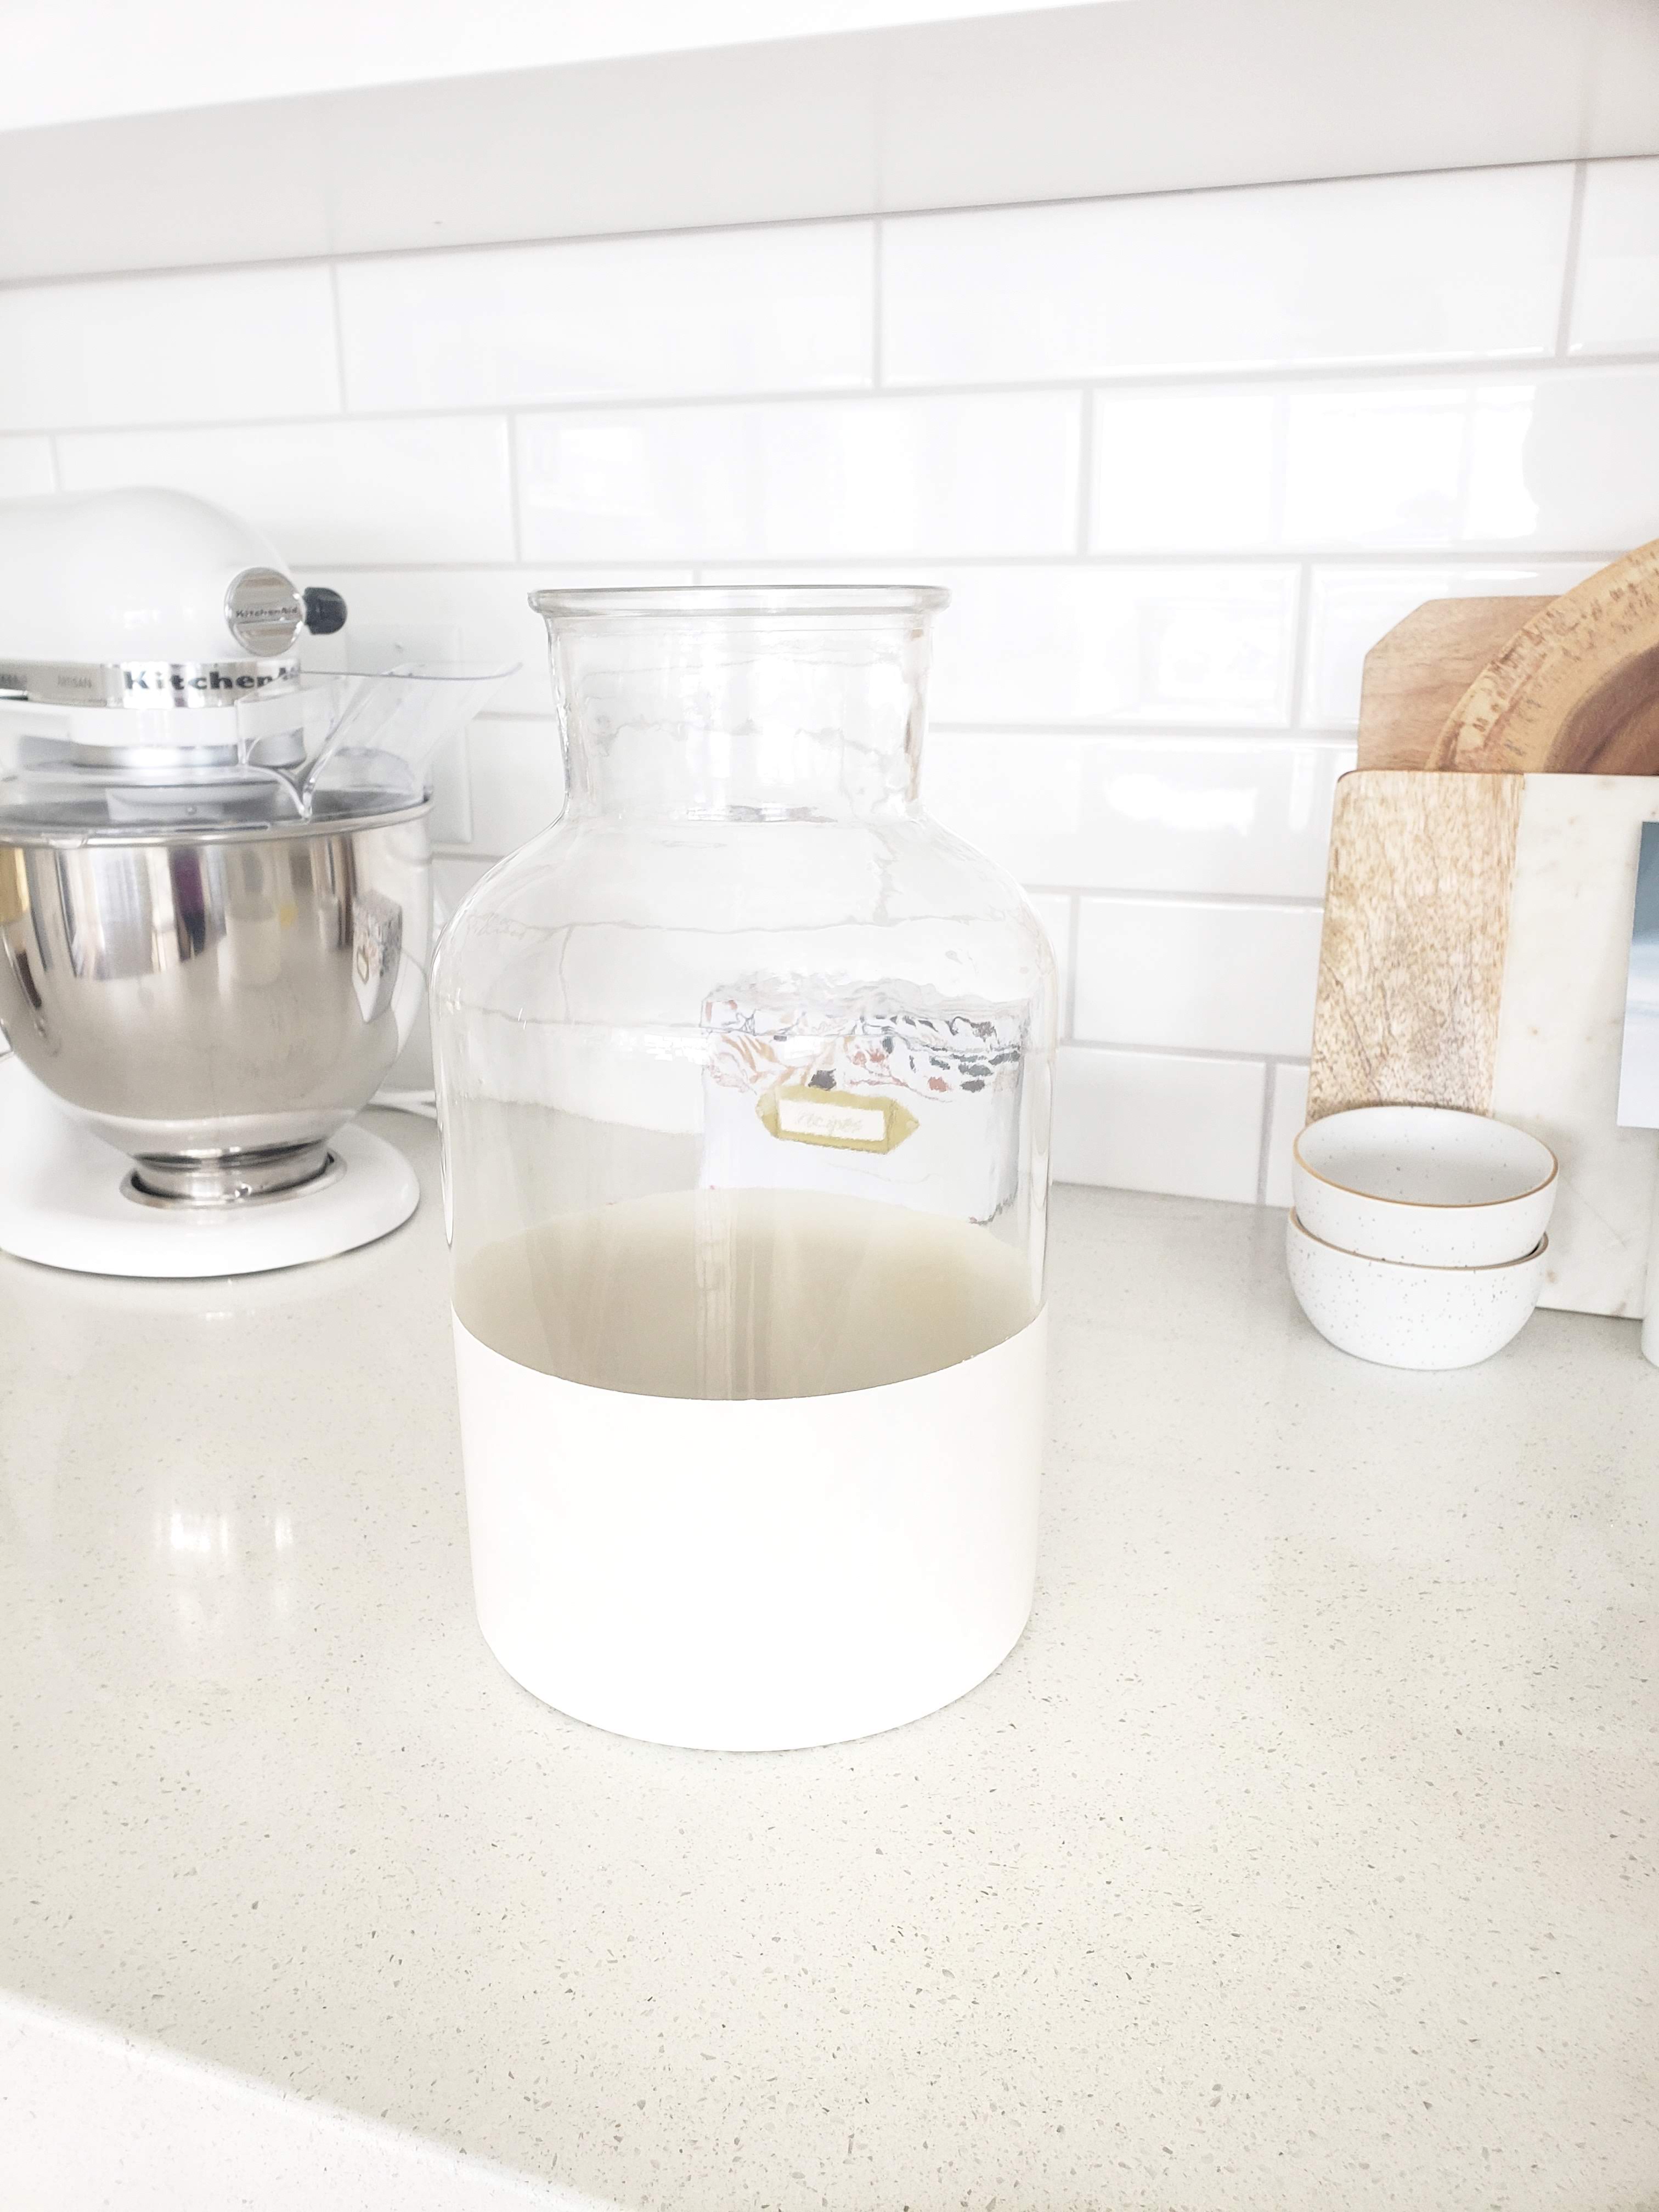
I found this awesome vase at World Market on clearance for $10. It is normally only a few dollars more than that. There was just a small scratch on one side that didn’t bother me. I took it home but the clear glass just didn’t work anywhere I put it.
I remembered seeing similar dipped vases like this at Serena & Lily. I also had recently seen Katie from Halfway Wholeistic do a DIY on this vase. I knew that I had to go find her post and give it a try. This is a super simple project that can be finished in a few hours. Less than that if you take out the time you are waiting for paint to dry.
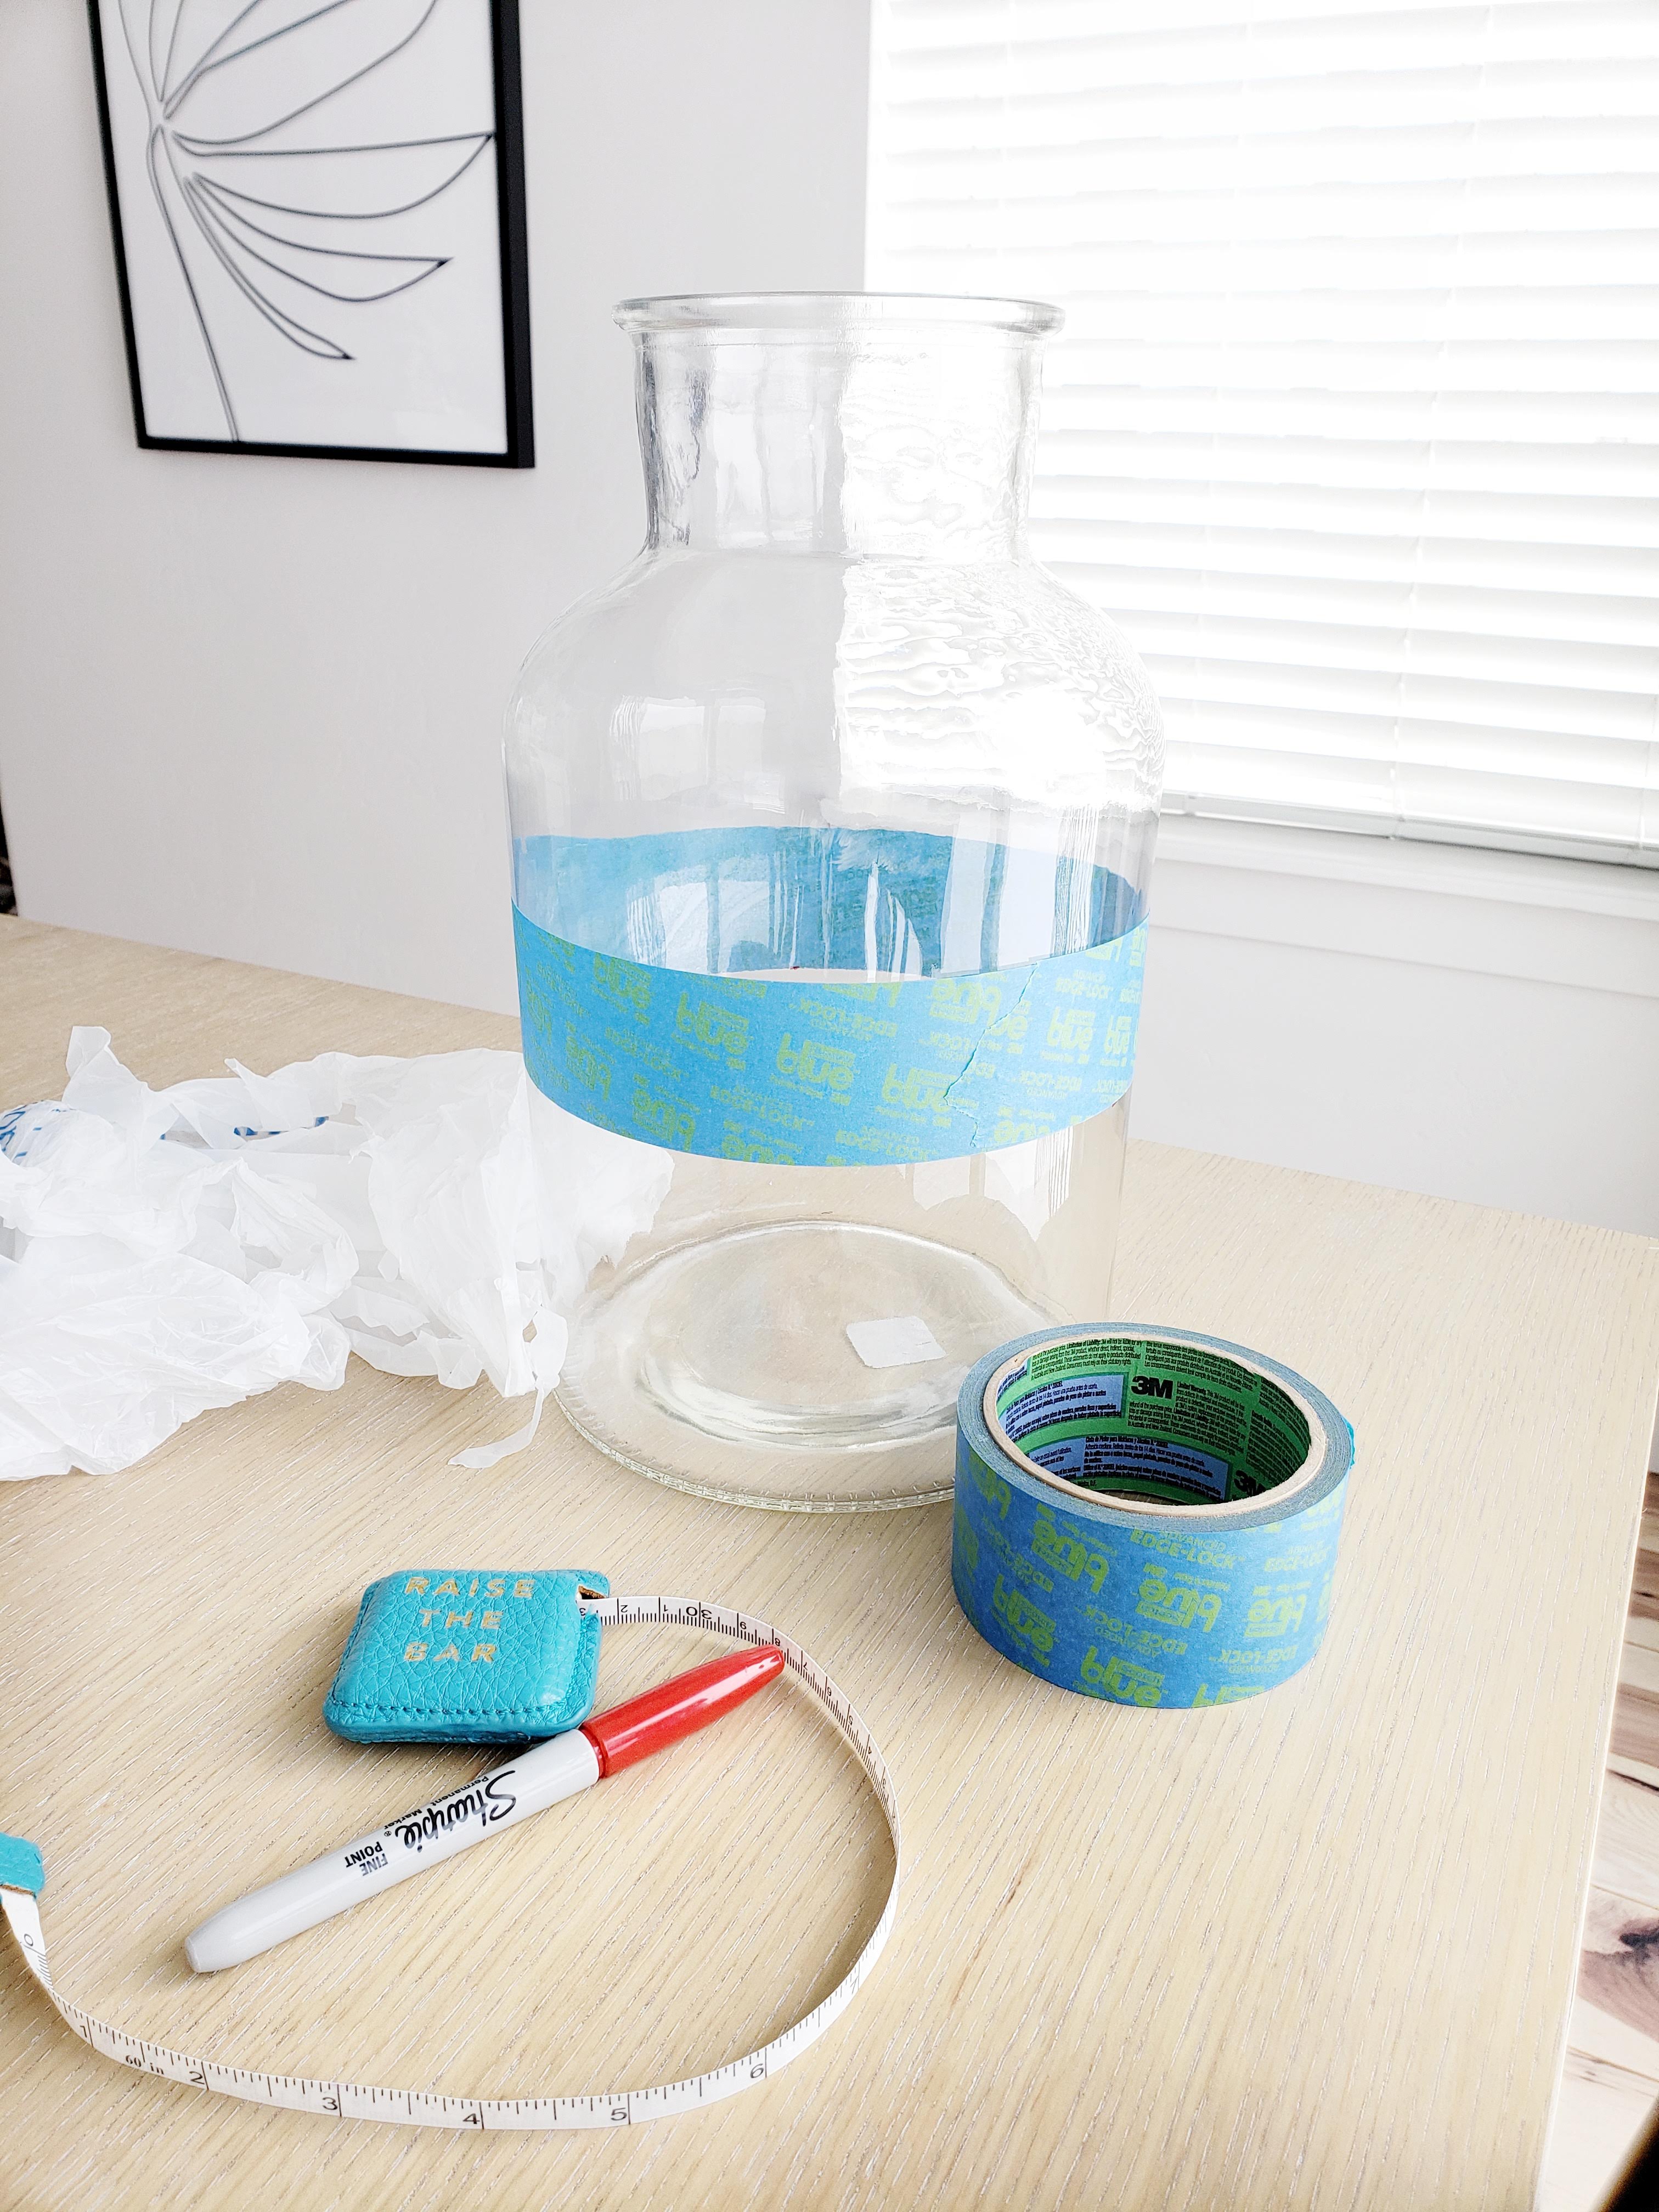
I pretty much followed Katie’s tutorial exactly. However, I did use a permanent marker to measure up three inches in a few spots around the vase. This gave me a guide to know where to put my tape line before painting. The permanent marker will wipe right off the glass vase with rubbing alcohol. I also used my favorite spray paint brand KILZ and Krylon. You can find my secret weapon for perfect spray painting technique in my YouTube video.
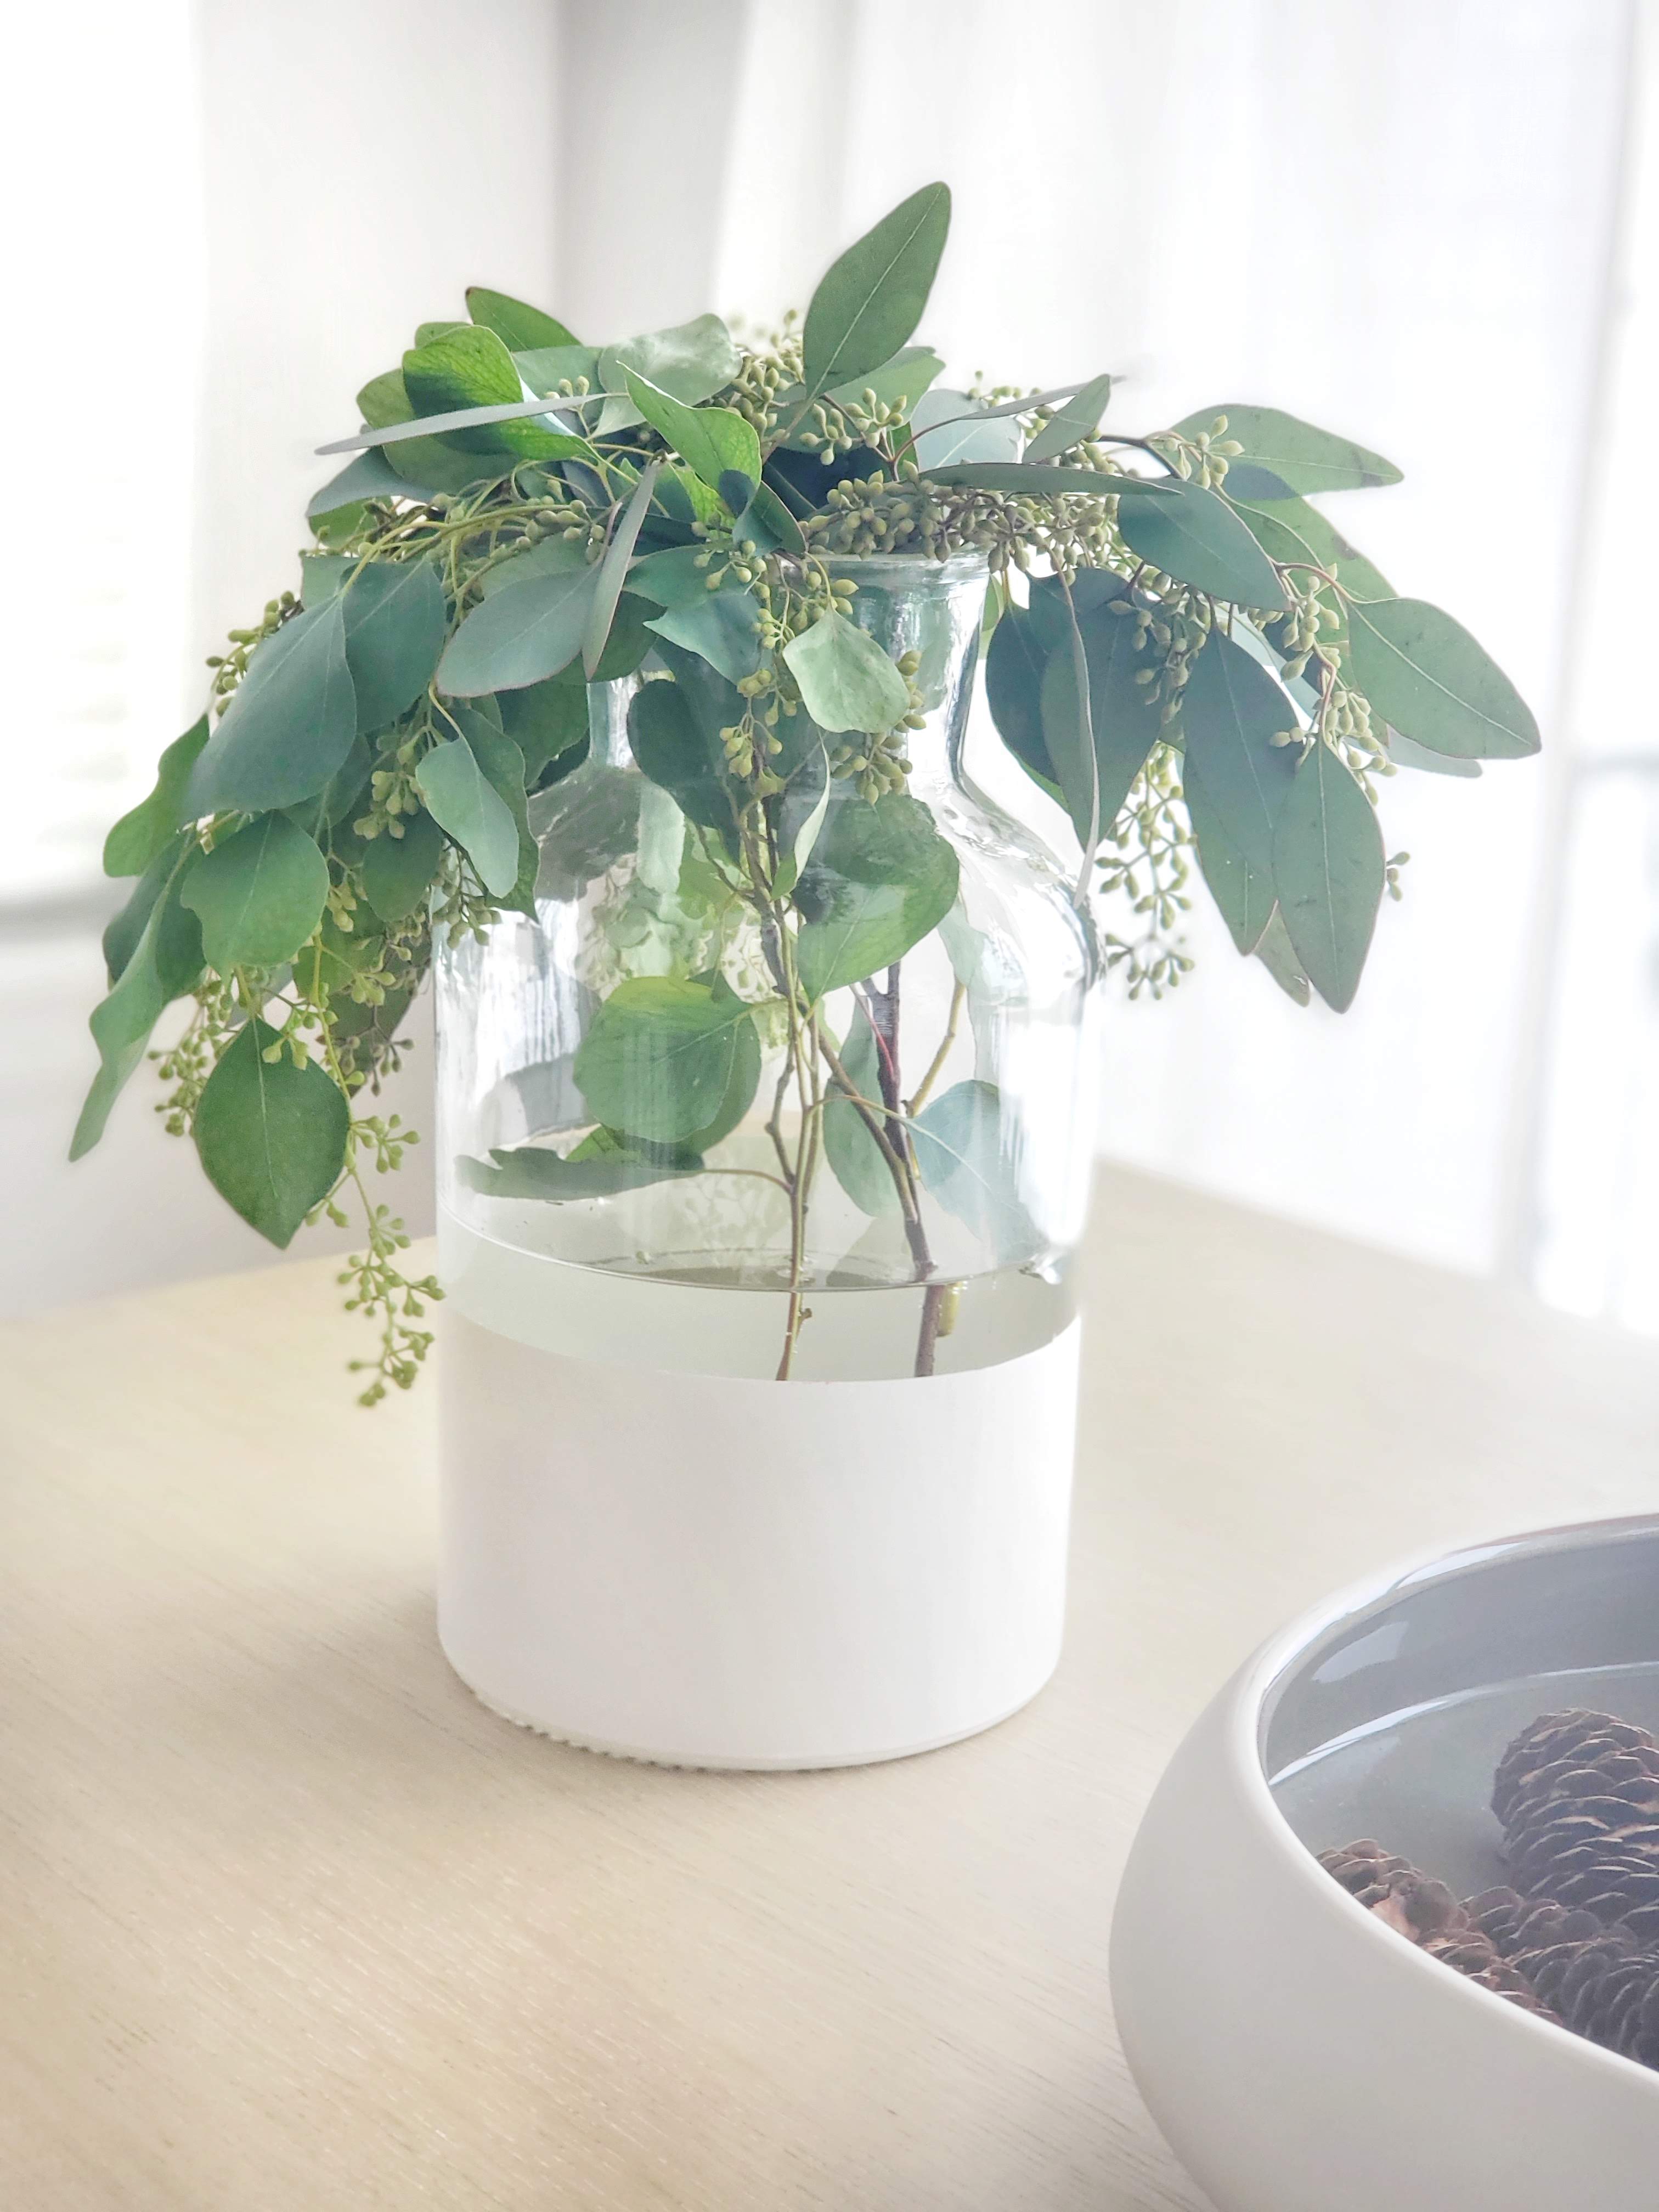
I grabbed some fresh greens from Trader Joe’s for the vase for only $2. I love that place! I usually go grab greenery from outside but I can’t pass up $2 greens. I am sure I will be moving this vase all over the house. The white base is just what the vase needed. You can find the full tutorial on Halfway Wholeistic.


Hey! I love this idea, so I tried it. But I can’t seem to figure out how to get such perfect finished lines like you. Paint seems to always seep out in spots and it makes it look, well, home made lol. Could you give me a tip on how to give it that professional look?
Please and thank you,
Mariza
Hi there, I always like to use frog tape for my painter’s tape. I also make sure to press it down with my nail along the paint line before starting to make sure there is no bleeding.