Stay Connected With The Latest Posts

  • This field is for validation purposes and should be left unchanged.

Stay Connected With The Latest Posts

Kate

Hi there, I’m Kate. Welcome to White Lane Decor. Thanks for stopping by. I love neutral, bright, and airy spaces. I’m always looking for new ways to turn our house into a home. Have a look around and find inspiration for your next project.

Disclosure

Some of my blog posts, ads, and banners contain "affiliate links." This means if you click on the link and purchase the item, I will receive an affiliate compensation. However, I only recommend products or services I use personally and truly feel you will enjoy too! I am disclosing this in accordance with the Federal Trade Commission's 16 CFR, Part 255: "Guides Concerning the Use of Endorsements and Testimonials in Advertising.” White Lane Decor is a participant in the Amazon Services LLC Associates Program, an affiliate advertising program designed to provide a means for sites to earn advertising fees by advertising and linking to amazon.com.

Shop My Home

Shiplap Wall

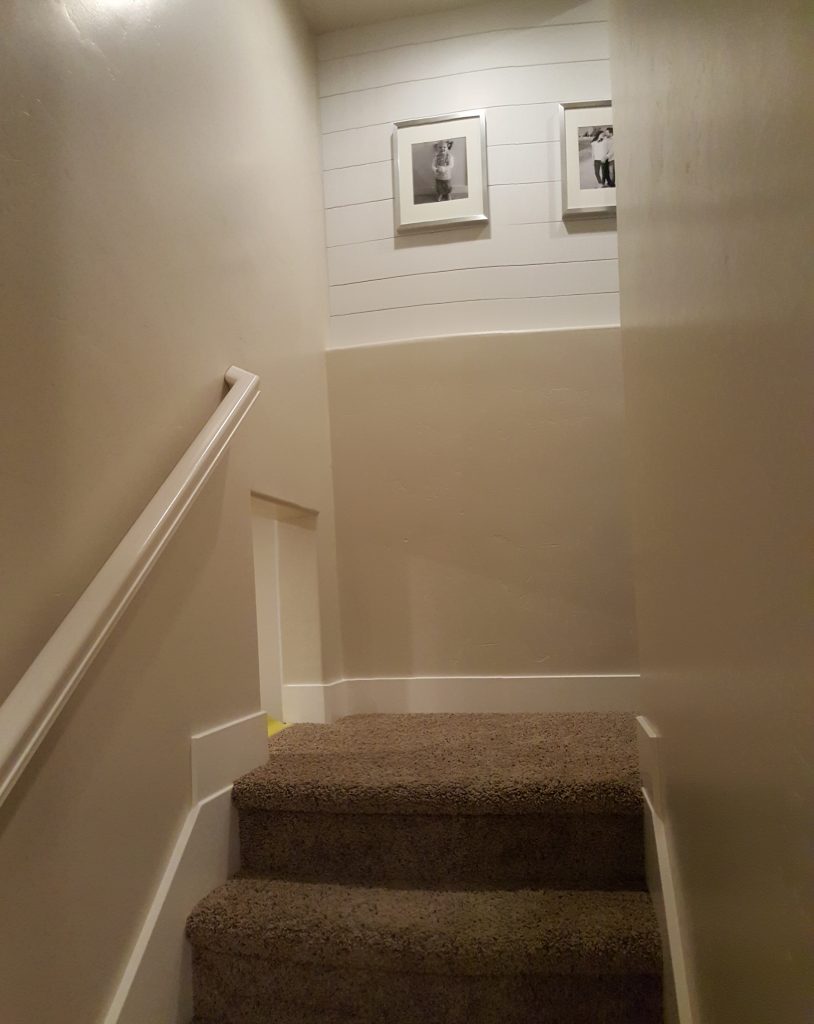
In our townhouse, we really wanted some kind of accent wall going down to the basement. I was tempted to do board and batten, but I wanted to try something new. I looked all over trying to decide what I wanted. I finally arrived at shiplap or a planked wall. Now planking would mean I would hook tongue and groove boards together in order to achieve the look I wanted. It would also be quite a bit thick. Shiplap is also very similar and both are more expensive than what I did. Now my idea of shiplap is really a faux shiplap I guess. I decided to go with this because it was thinner. Off to Home Depot to get some cheap sheets of plywood or utility board ($13 a sheet) ripped into 6-inch strips.  I got home and sanded them slightly to get them a little smoother where they were cut.

20150722_132357

imag1359

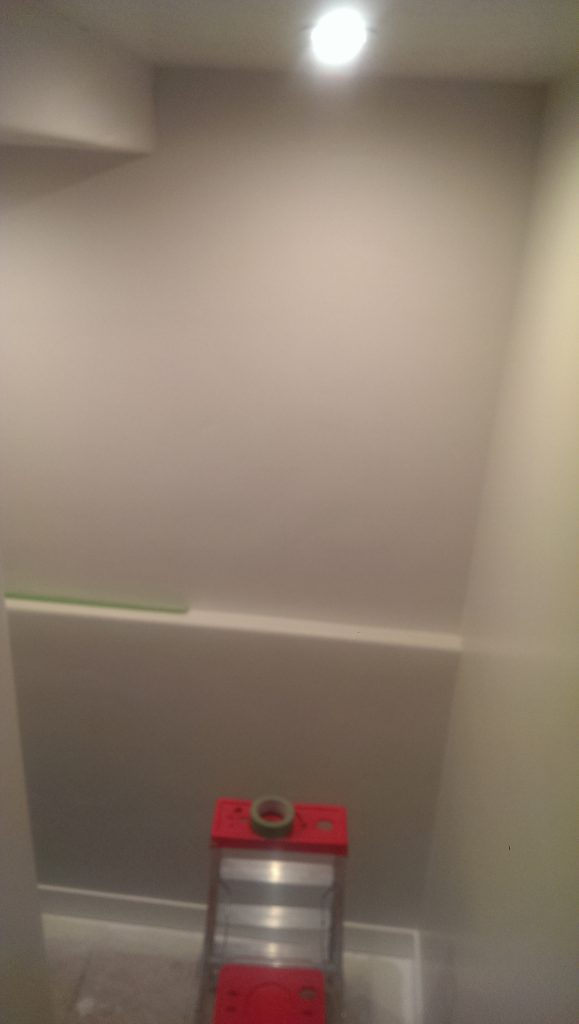
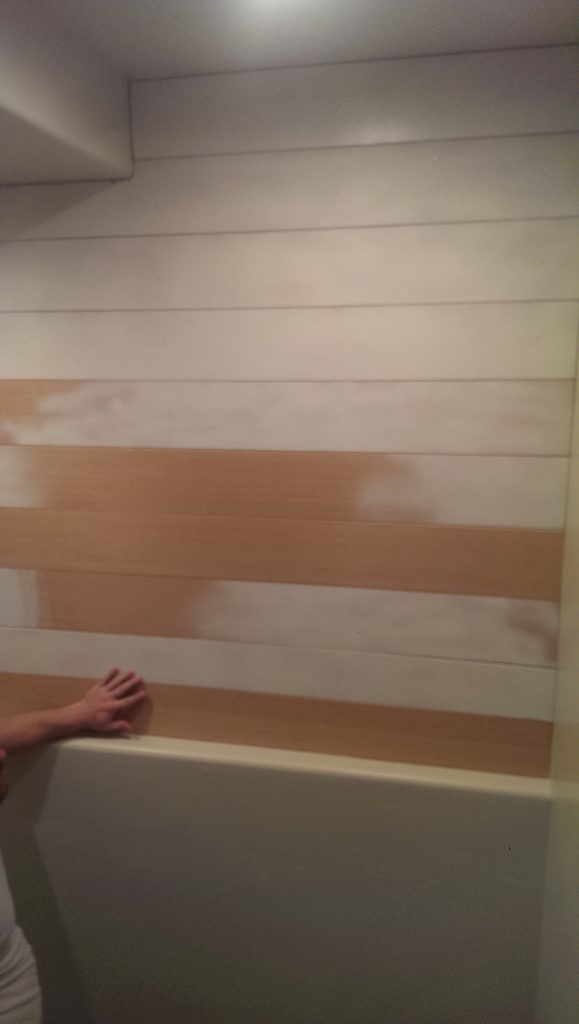
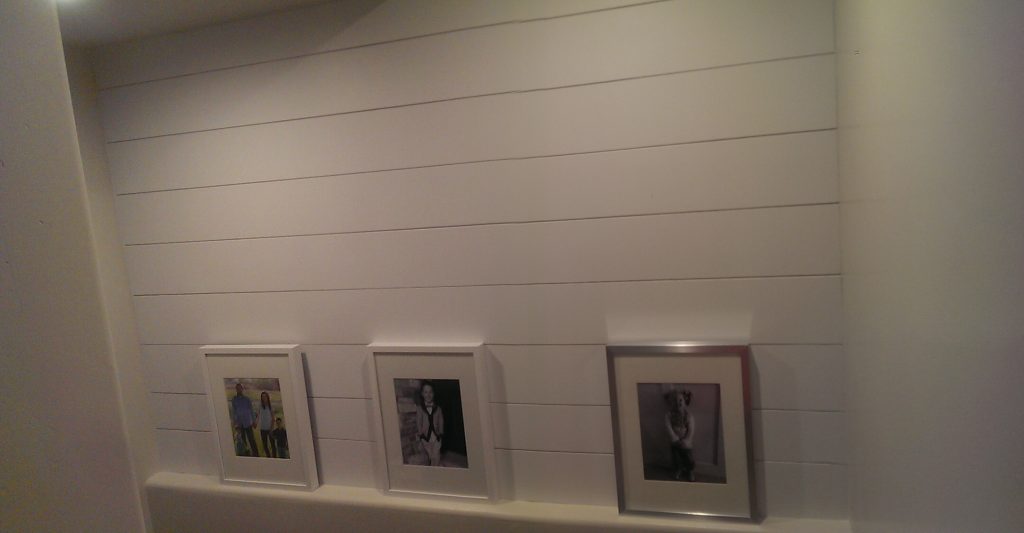
First, I painted the wall white where the planks would go.  I spaced them slightly apart using a nickel and I didn’t want the tan color to peek through. Then I started priming the planks. It was kind of hard to do this before I even had nailed them to the wall, so I quit half way through :). I bought a cordless nail gun for this ya’ll! So I just started nailing them up to the wall using a nickel to space in between the boards. We had a weird curve towards the top of our ceiling and we just used our jigsaw to cut that since home Depot only does straight cuts. It wasn’t perfect but I caulked, filled , and painted so no one will ever notice. Once all my boards were up I filled all the nail holes and caulked. Then I painted three coats of white paint with a foam roller.  Now if you get paint where you spaced the boards, just use a spatula or putty knife to scrap it out. I wanted to hang three pictures but I couldn’t decide if I wanted white frames or silver. I ended up choosing the silver frames from IKEA. What do you think?


imag1444


imag1465

Kate

Hi there, I’m Kate. Welcome to White Lane Decor. Thanks for stopping by. I love neutral, bright, and airy spaces. I’m always looking for new ways to turn our house into a home. Have a look around and find inspiration for your next project.

Disclosure

Some of my blog posts, ads, and banners contain "affiliate links." This means if you click on the link and purchase the item, I will receive an affiliate compensation. However, I only recommend products or services I use personally and truly feel you will enjoy too! I am disclosing this in accordance with the Federal Trade Commission's 16 CFR, Part 255: "Guides Concerning the Use of Endorsements and Testimonials in Advertising.” White Lane Decor is a participant in the Amazon Services LLC Associates Program, an affiliate advertising program designed to provide a means for sites to earn advertising fees by advertising and linking to amazon.com.

Shop My Home