The following post contains affiliate links. Read my full disclosure here.
We just finished the shiplap in the upstairs hallway. Mr. Whitelane and I usually do our shiplap by having underlayment ripped into six-inch strips. We used this type of shiplap above our bathroom vanity. However, I am going to let you in on a big secret. Mr. Whitelane found an even easier and better looking DIY way to shiplap. I almost hesitate to share because I want to finish up a few more shiplap walls before all the stores sell out. 🙂
I am totally joking. I wouldn’t do that…well, maybe. We went to Home Depot to get boards for the upstairs hallway. Mr. Whitelane had gone to find a worker for help getting wood down. I get a phone call a few minutes later from him telling me to come look at what he found. Mr. Whitelane told me he found primed shiplap boards. I reluctantly said they were probably just the cedar tongue and groove boards and wouldn’t work. He convinced me to walk over and find him.
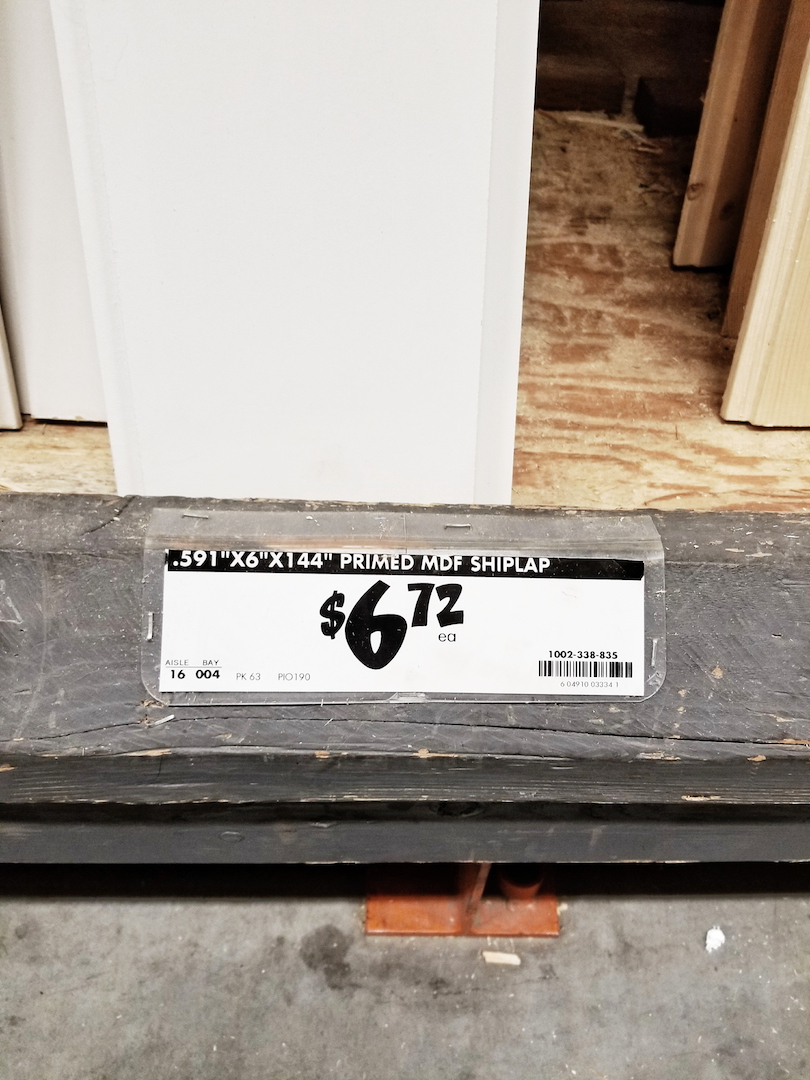
I was giddy with excitement to behold what he found. HOME DEPOT now carried primed MDF shiplap boards. NO WAY! There were 12 foot and 8-foot shiplap boards. HALLELUJAH! This was going to look so much better and match our entry shiplap at a fraction of the cost. The boards in our entry were customed ordered from a wood mill. Way to go Mr. Whitelane, way to go! I was thinking its about time Home Depot carried shiplap. It is all the rage these days.
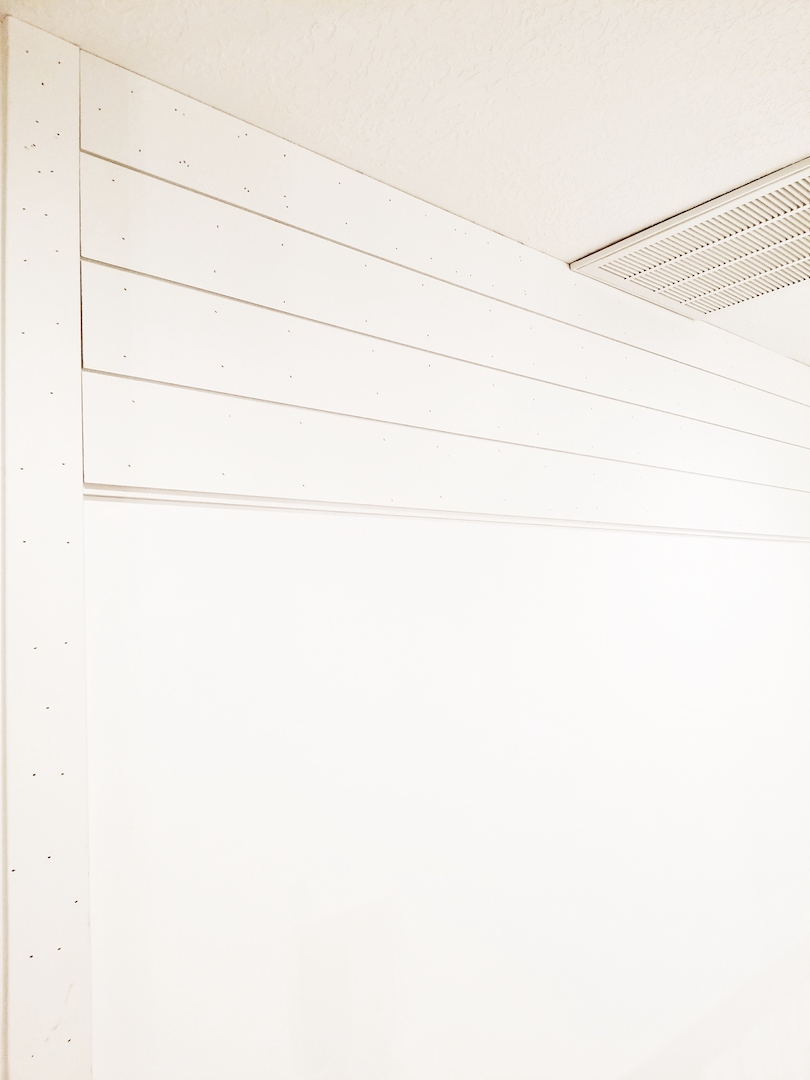
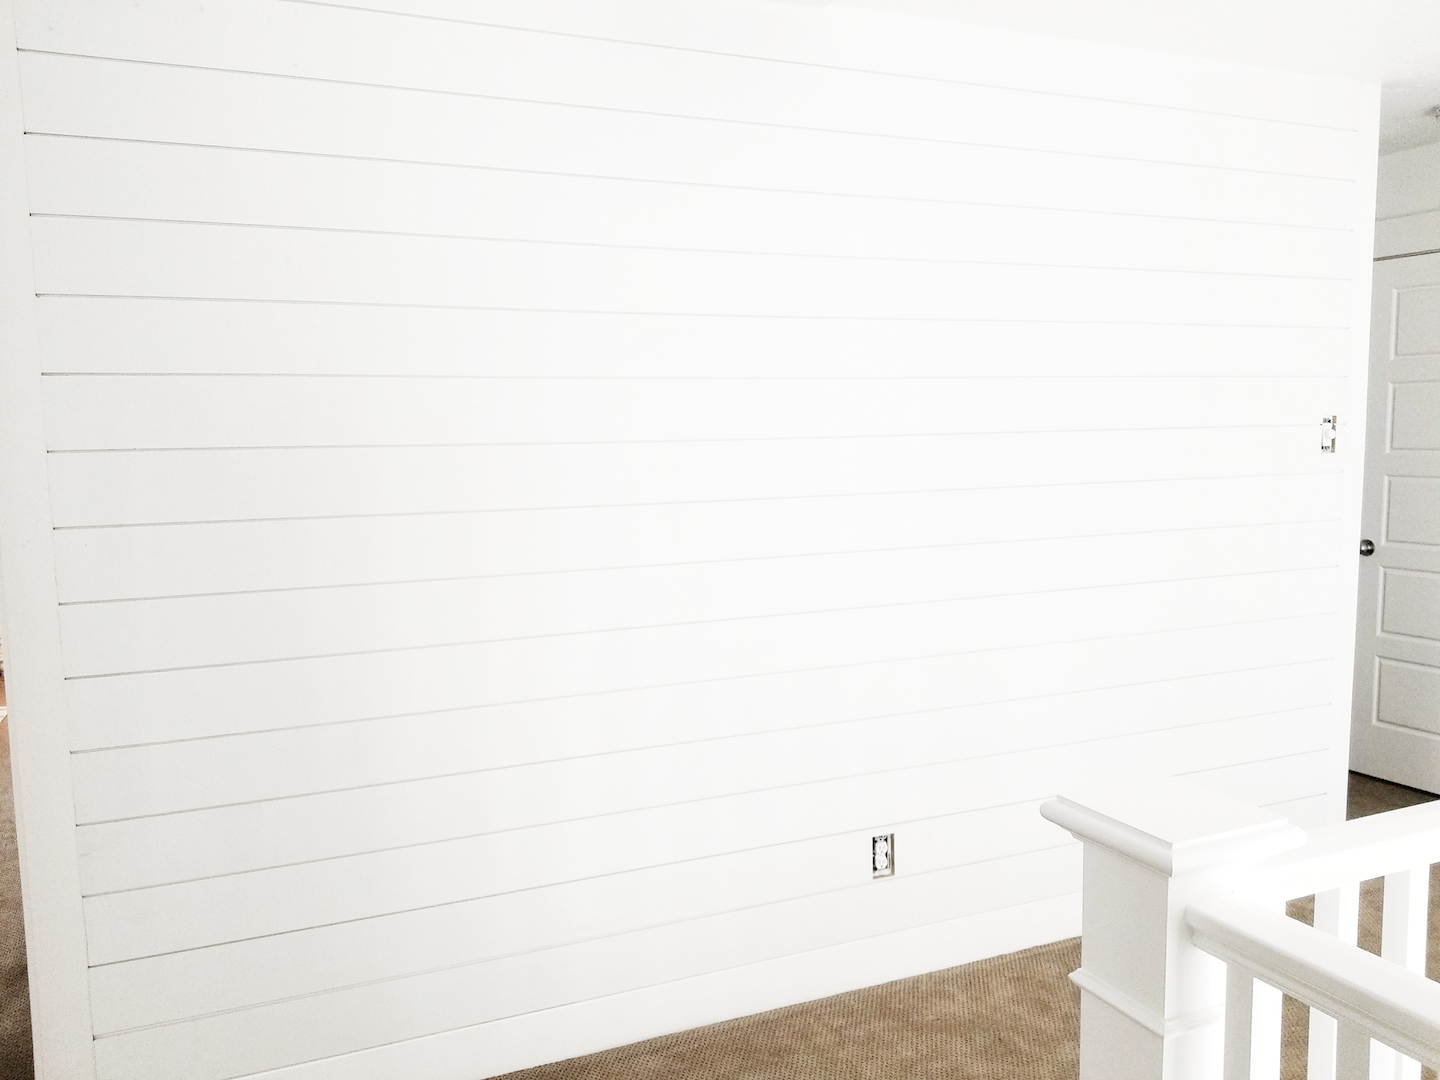
We quickly snatched up all the shiplap boards they had left and hit up another local Home Depot for a few more. We got home and got started. Since the wall is open on each end in the hallway, we used 3.5″ MDF casing on each end. Otherwise, there would be all the ends of shiplap showing. It wouldn’t be a finished look. We put those end caps up first. Then we added the shiplap boards starting at the ceiling.
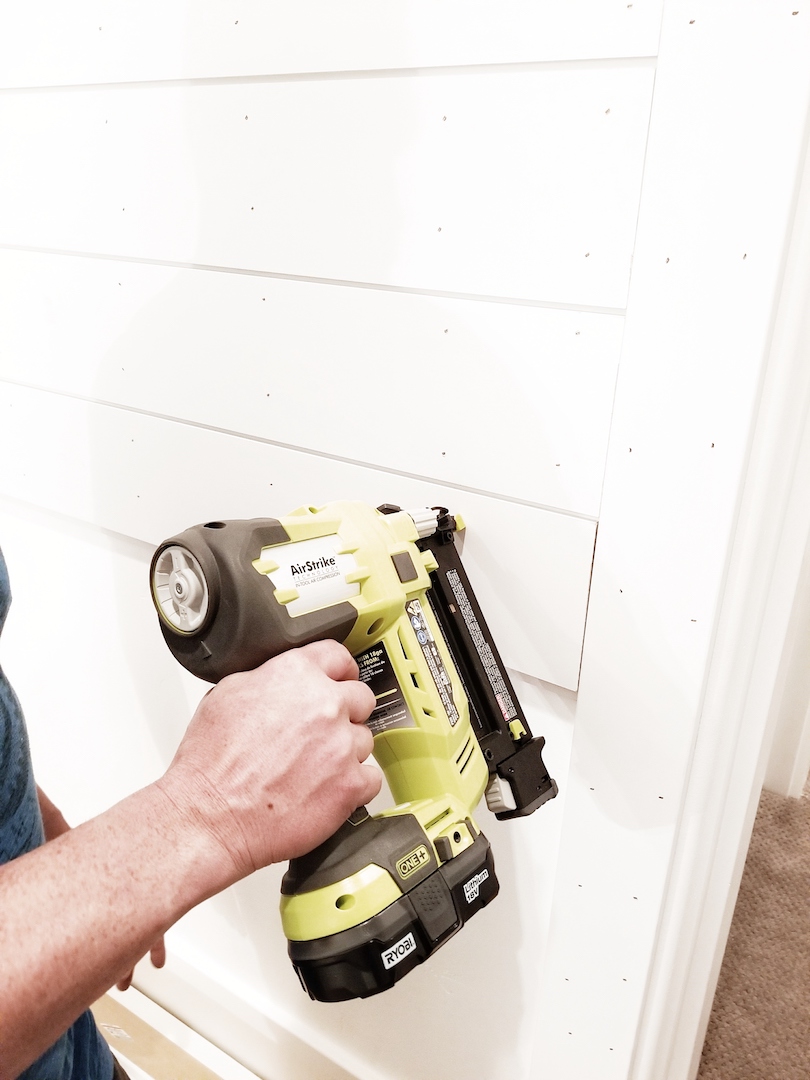
The ceiling is never level and there will be bigger gaps in certain areas. This is what caulk and paint are for. We continued putting up the boards down the wall until we reached an outlet. We then used our jigsaw to cut out around that area. I give Mr. Whitelane all the props for that tedious job. His measurements were spot on with the square cuts for the outlets. Did I mention, we used our Ryobi Airstrike cordless nail gun? We were able to do this project while our kids slept at night. Literally a few feet away from their bedrooms. It was so much quieter than a compressor nail gun!
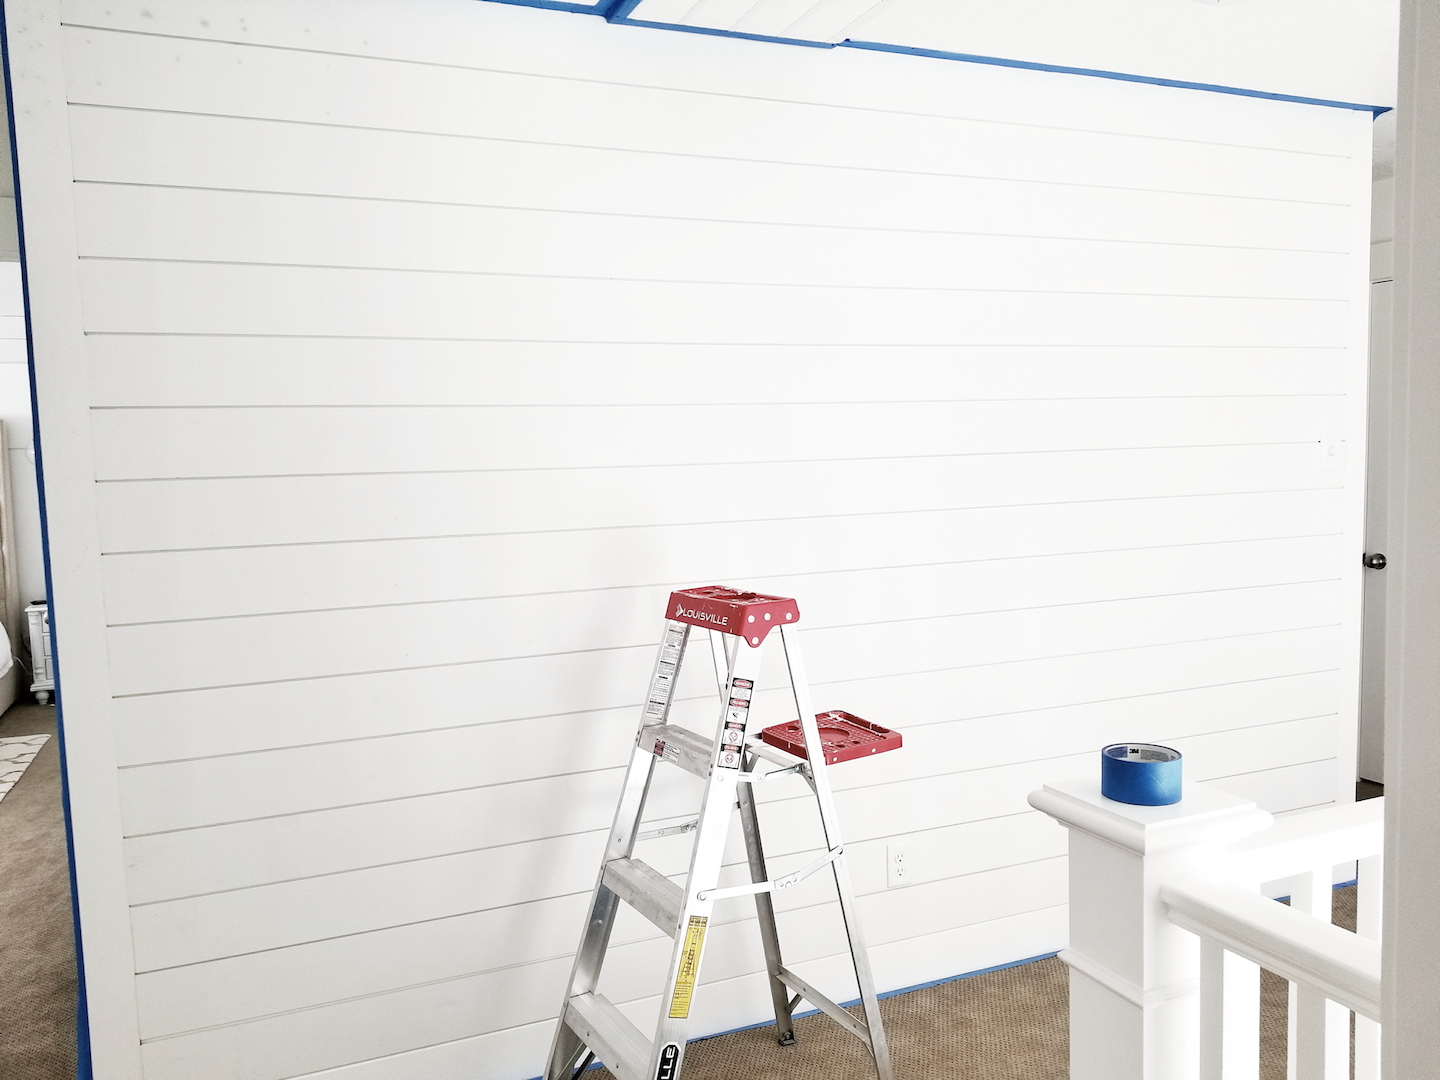
After we got all the boards up, I used caulk and spackle to fill all the gaps and holes. It sat that way for a good two weeks. I really was not sure about painting this beast wall. I knew spraying the wall would be best. Also, it would be more expensive to have someone come spray it (my paint sprayer is not made for indoors). That is also on the account that I could even find a decent painter that is not crazy busy right now. After looking at the wall unpainted for weeks, I decided to just go for it.
I used a foam roller and very small art paint brush. I used the small brush to get in all the open grooves and then smoothed it over with the foam roller. I will be honest, the first coat was a long nightmare. I wanted to quit halfway through. It didn’t look very good and it was soooo time-consuming. I actually did quit for about a week. I then decided to give it a second coat. It started looking way better. In fact, the second coat went way faster and smoother. I even did a third coat of paint the same day in less than 30 minutes. Each coat got easier and quicker. It was not as smooth of a finish as spraying. However, it was DONE! I plan on hanging three large frames across the wall. I don’t think you will notice all the little imperfections of my paint job once they are hung.
Sadly, we haven’t got family pictures done in two years! WHAT? I know it’s crazy. I haven’t hung the frames because I am waiting until the new baby arrives, to get updated family pictures. I will be sure to share the finished wall, with frames, when that all happens. I just wanted to share my top secret source for the best DIY shiplap. Who knew, Home Depot?



Great post! We used regular unprimed shiplap in out home and primed and painted it. However, it bled through because we didn’t use a product like Zinzer, just a regular paint primer. I now will have to prime and paint the walls again. I’m so glad you found the primed shiplap!
Thank you! Primed shiplap has saved me a lot of time. Zinzer is great and I also love KILZ for a primer. Painting can be a lot of work. I am sad that you have repaint all that. Good luck!
I love this. Thank you. Did you run the shiplap all the way to the floor or into your baseboards? I can’t tell from the photo either if the side pieces are all the way to the floor or but into baseboards
It runs into our baseboards but we painted the baseboard the same color as the shiplap to flow.
Did you have problems with the paint covering the white primed shiplap?
We installed the white primed shiplap which we received from the manufacturer, then we painted it with the finished colour, BM Chantilly Lace and it looks awful!
There were these shiny white spots (I think it’s the way the manufacturer painted over the knots), which can be seen from certain angles!
I’m sorry to hear that. We did not have that problem. Our shiplap was primed MDF so there were not any knots because it was not real wood. MDF is smooth and easy to work with and looks just like the real thing.
Hi. Thanks so much for all your information. Did you use flat paint on the walls, eggshell or satin finish?
Satin finish
Looks great! Have a question tho, did you sand the primed mdf? The paint dept at home depot told us to paint the mdf we would have to sand all the primer off first. How has yours held up? Thanks!
Thank you! Yes, we did use primed MDF and then painted 2 to 3 coats of paint over that. It worked great. Not sure why they said you would need to sand the primer off. Primer helps the paint stick.
hi,what nailer is this? s it the finsih nailer or brad? thanks so much looks great
It is a finish nailer.